To fit two existing drill holes, I designed a toilet-roll holder — you won't find one quite like it in a shop, but with OpenSCAD it's a matter of minutes. The whole holder lives in ten named dimensions at the top of the file: for different holes, a different reach or a different roll width, you change just that one number and print your own part.
How the holder is built
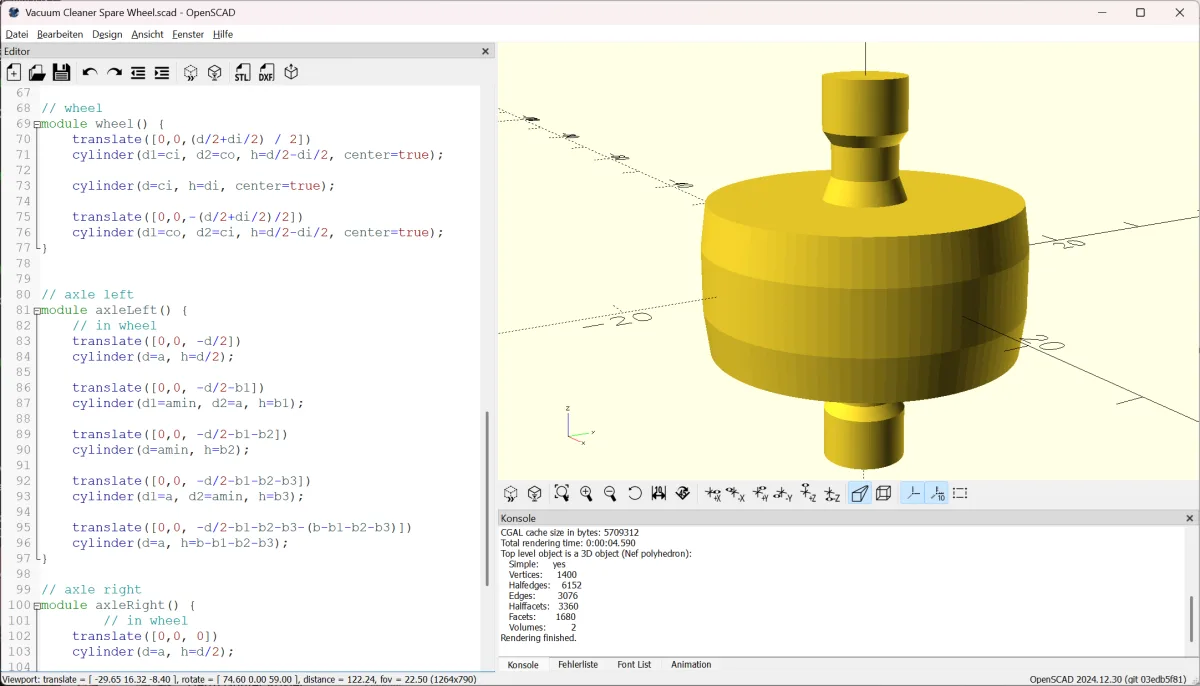
Three parts, read from the wall outwards:
- The wall disc (
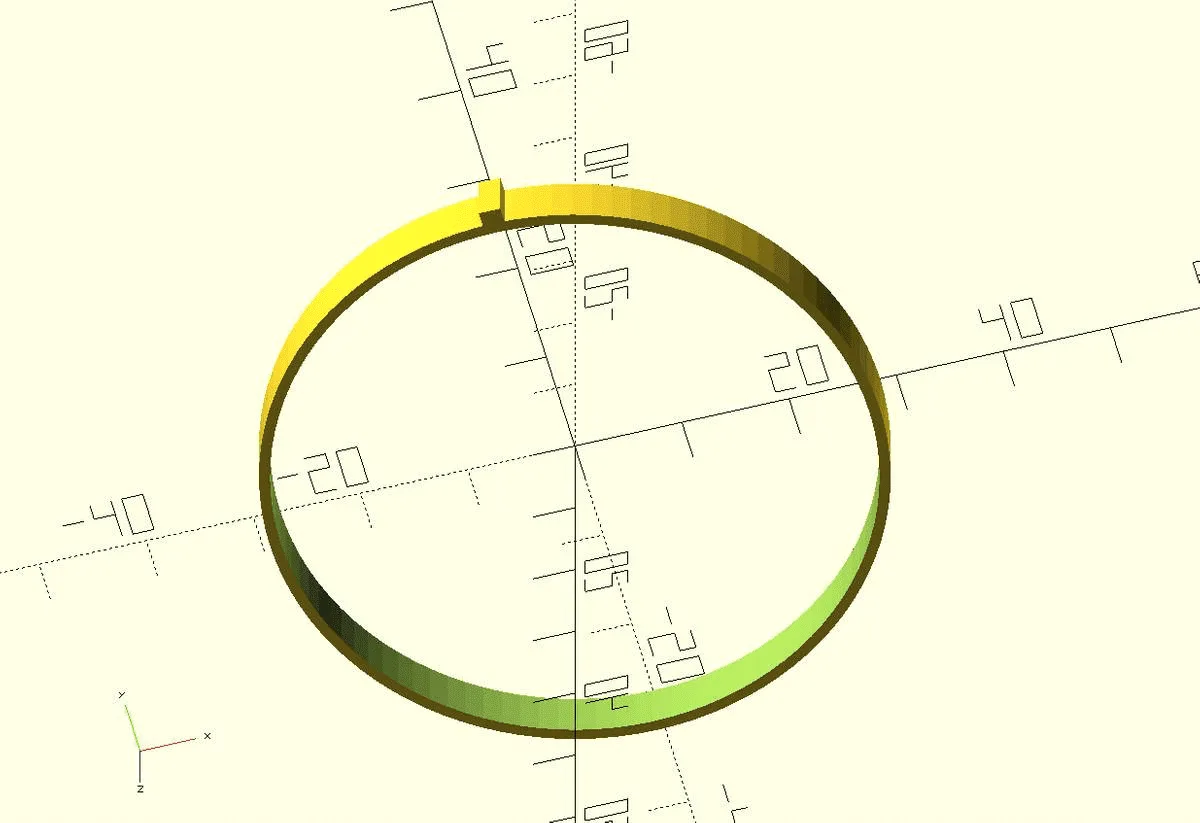
Bodenplatte) is a flat disc with two mounting holes. It's made withdifference(): twoLoch()(holes) are cut from a solid cylinder, each offset by half the hole spacing (a/2) up and down. Each hole has a small truncated cone on top — a countersink the screw head sits flush in. - From it the lower arm grows outwards: a plain cylinder (length
e, diameterf), offset by the disc thicknessc. - The upper arm carries the roll. It lies horizontally (
rotate([0,90,0])) and is the union of a cylinder and a truncated cone on the end (cylinder(d1=h, d2=h-2)). The cone tapers the free end slightly, so the roll slides on without catching on a sharp edge.
// hole spacing in the wall
a = 25.46;
// diameter of the wall disc
b = a*2;
// height of the wall disc
c= 8;
// diameter of the wall-mounting hole
d = 3;
// length of the lower arm
e = 81.28;
// diameter of the lower arm
f = 18;
// length of the upper arm
g = 120;
// diameter of the upper arm
h = 16;
// offset of the upper arm from 0
i = 81.28;
$fn=100;
Bodenplatte();
translate([0,0,c])
cylinder(d=f,h=e);
translate([0,0,i])
rotate([0,90,0])
union() {
    cylinder(d=h, h = g-1);
    translate([0,0,g-1])
    cylinder(d1=h, d2=h-2, h = 1);
}

module Bodenplatte() {
    difference() {
        cylinder(d=b, h =c);
        translate([0,a/2,0])
        Loch();
        translate([0,-a/2,0])
        Loch();
    }
}

module Loch() {
    cylinder(d=d, h =c-1);
    translate([0,0,c-1])
    cylinder(d1=d, d2=d+2, h =1);
}
Adapting it to your wall
All the adjustment knobs sit at the top of the file:
- Hole spacing
a— the key value: set it to the spacing of your own drill holes; the disc diameter (b = a*2) follows automatically. - Mounting hole
d— set it to the diameter of your screws. - Reach
g, arm thicknessh— how far the holder sticks out and how stout the supporting arm is. $fn— the number of facets on the rounded parts: higher means smoother but slower; 100 is a good value for a visible part.
Printing
A small, lightly-loaded part — PLA is plenty; PETG copes a little better with the moisture and warmth of a bathroom. And this is how it looks during printing: